Week 4
Lawn Rejuvenation
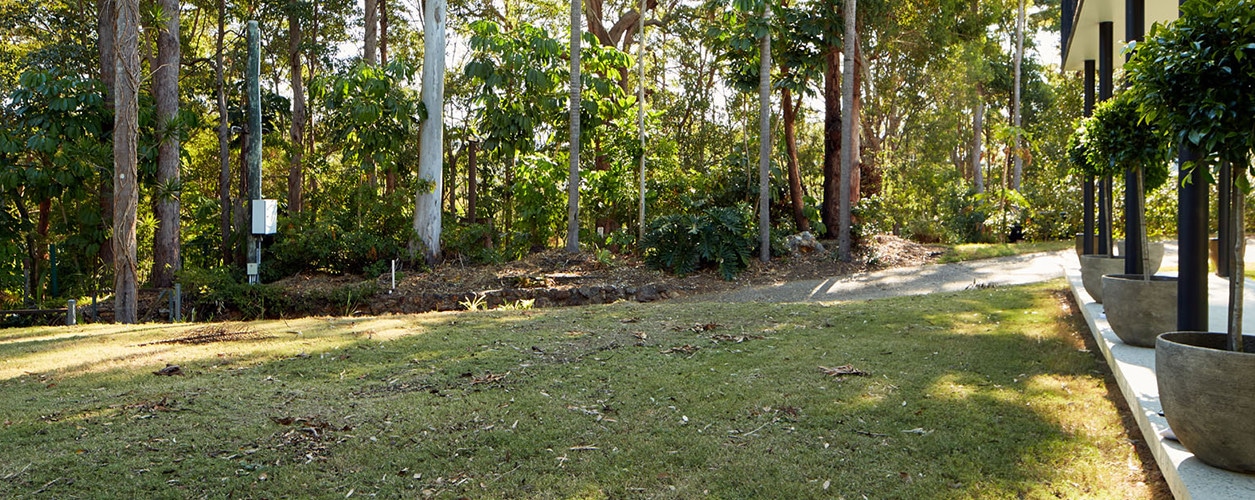
The grass or lawn area in your garden is a major feature of the yard, and also one of the most widely used and functional areas. A great lawn will frame the look of your garden and give the perfect backdrop for plants, trees, garden beds, outdoor entertaining areas, or even a pool. It requires a bit of attention at this time of the year to bring it back to life and to ensure that it is at its best for the warmer months of the year when you are going to use it most.
Your lawn’s growth will considerably slow down through Winter, and it will look pretty lack-lustre as we head into Spring. Areas of the grass that are overgrown or have become too long will need to be cut back. Bare patches will need to be encouraged to thicken up and the edges will need to be defined and cut.
Follow these steps to ensure your lawn looks amazing all year round:
STEP 1: GRASS TRIMMING
Firstly, grab your grass trimmer and run it across the top of the lawn using it to trim back any extremely unruly growth before you mow. The grass trimmer is especially handy to cut long grass under shrubs and plants that have come out over the lawn, as well as trim back growth around letterboxes, fences, decks or play equipment. It will also be useful if the grass is wet and thick in areas where a mower may not be able manage. Always wear eye and ear protection when using a petrol grass trimmer. If you’re using a STIHL battery powered grass trimmer, ear protection won’t be needed thanks to their extremely low noise output.
If you’re lucky enough to live on a larger property with lots of land, then this part of the transformation may take a little longer! A STIHL professional brushcutter or clearing saw will help you tackle dense grass areas with ease. There are a number of different cutting heads and blades compatible with the STIHL range. Your local STIHL Specialist will be able to advise as to which one will best suit your needs.
STEP 2: EDGING
Edges are next. Grass runners will often grow over the path or driveway boundaries, over onto the kerb and also into garden beds. Using the edger attachment with the STIHL KombiSystem, cut these back and create a sharp defined lawn edge. Ensure that any brick garden edging or stone borders are clear of grass and that the lawn has a defined smooth shape. If there is no garden edging, a sharply cut grass edge makes a great border.
STEP 3: MOWING
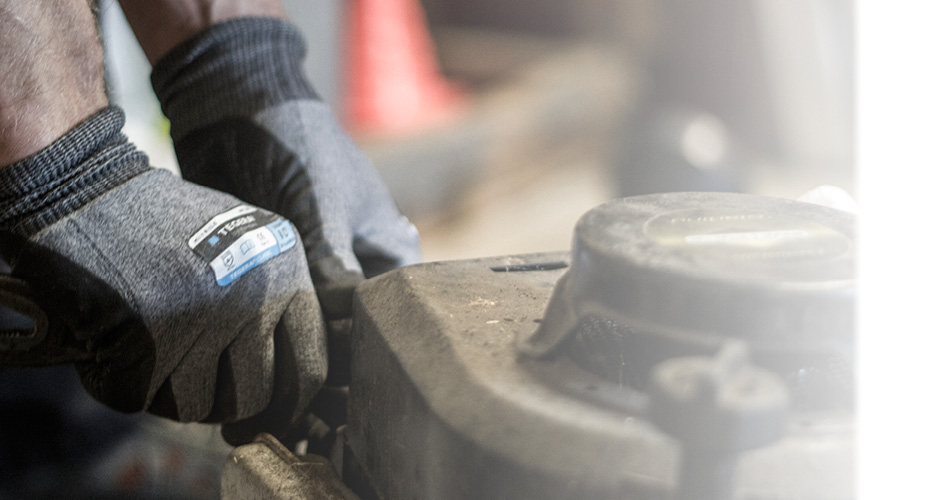
Now, on to the lawn, which needs it first cut after Winter to remove the old growth and encourage a fresh new lawn to flourish. If you didn’t manage to take your lawn mower in for a service at the end of Summer, now’s the time to take it to your local STIHL Specialist.
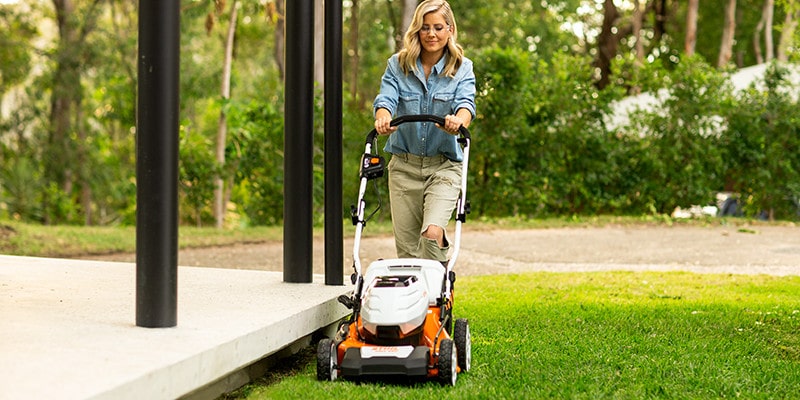
Set the lawn mower to a medium to low setting and run the mower over the lawn. This will reduce the length of the grass blade, and work together with the aerating to get water and airflow to the roots.
STEP 4: LAWN HEALTH
Once the lawn has been cut and edged, the next step is to improve its health. This involves the soil where your lawn’s root system absorbs its goodness which feeds the green blades with the nutrients and water they need.
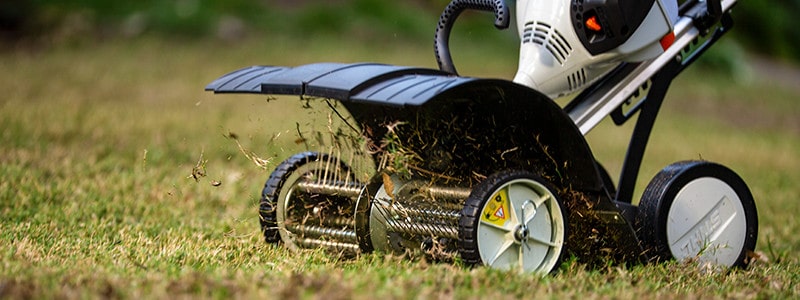
An important process in the rejuvenation of your grass is the dethatching. The ‘thatch’ of your lawn is a layer of organic matter made up of lawn clippings, plant matter and roots that accumulates just on top of the root system. If this builds up too much and becomes thick, it will remain wet and be detrimental to the health of your lawn. Every 4 months or so, use the STIHL MultiSystem with the dethatcher attachment to remove the thatch and then run the lawn mower over the grass again to collect it up.
STEP 5: AERATING
Aerating of the soil is also important, and involves putting holes through the lawn and soil to allow fertiliser, water and top-dress soil to get down into the roots. The STIHL MultiSystem is a great tool that helps get yard work done quickly. The aerator attachment completes the task in no time and without the hard work of manual tools. Alternatively you can use a spiked roller or garden fork to open up the dense soil by putting small holes through the lawn.
STEP 6: FERTILISE
Once you have aerated and dethatched, the lawn needs a fertiliser. There are numerous fertilisers available, ranging from a slow-release food, to an organic pellet, to enriched top-dressing soil. A fertiliser spreader is recommended so that you distribute the food over the lawn evenly. Too much fertiliser can burn the grass, whereas not enough will limit the nutrients that the grass needs. Ensure you follow the instructions on the pack and spread it over the lawn as recommended.
STEP 7: TOP-DRESS
The final step is to lightly top-dress the lawn. This involves using a soil mix appropriate for lawns (usually a sand/soil mix 80:20), and lightly spreading it over the lawn. The sand component of the top-dress aides in drainage and reduces water-logged soil, while the soil component adds organic matter. This will also help to level any areas that have sunk over the last twelve months, and also rejuvenate the cricket pitch!
Featured Products